Clean Access Install
What is Cisco Clean
Access? Clean Access is a network authentication system that certifies every
user who logs onto the network. In addition, it automatically verifies that
each machine is protected with the latest Windows Updates. For users with Windows Operating Systems
installed, it also checks to confirm that you have an Antivirus program Installed and
that the virus definitions are current. The following Antivirus programs are
supported:
1.
Grisoft (AVG)
2.
McAffees
3.
Norton
If you do not have an
antivirus installed you will be prompted to download and install AVG.
Summary of Installation Process:
1.
For Windows users,
when you attempt to go to an outside web page you will be prompted to download
and install the Clean Access Agent.
2.
If you see a
Network User Agreement Page appear, read the agreement and click the
appropriate box.
3.
Download the Clean
Access Agent Install program to your desktop or a folder of your choice.
4.
Click Run to
Install the Agent.
5.
Once the agent is
installed you will be prompted to “LOGON” to Clean Access, use your Email “Username”
and “Password”.
6.
If your Windows
updates are current, you will receive a “Logon Successful” message. Click OK
and continue.
7.
If your Windows
updates are not current, you will be notified by Clean Access. Click “Update”
and then Click “Continue”.
8.
If you do not have
an Antivirus installed you will be prompted to download and install AVG.
(Individual step for installation are
shown
below).
9.
After the Antivirus
is installed you need to “RESTART” your computer.
10.
You will again be prompted to “LOGON”.
For
questions or problems, please call the helpdesk at 5571.
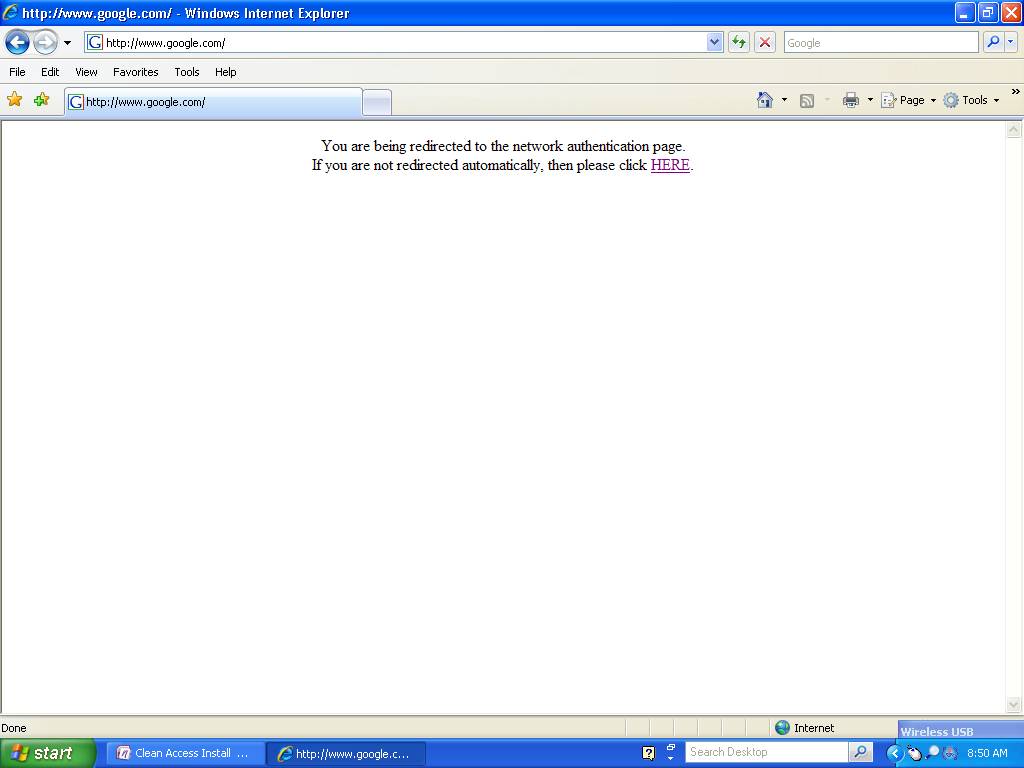
STEP
1:
The following Screen
will appear when you attempt to go to an outside web site.
Friday, February 23, 2007
8:45 AM
 �������������������������������������������������������������������������������������������������������������������������������������������������������������������������������������������������������������������������������������������������������������������������������������������������������������������������������������������������������������������������������������������������������������������������������������������������������������������������������������������������������������������������������������������������������������������������������������������������������������������������������������������������������������������������������������������������������������������������������������������������������������������������������������������������������������������������������������������������������������������������������������������������������������������������������������������������������������������������������������������������������������������������������������������������������������������������������������������������������������������������������������������������������������������������
Step
2:
Click “Continue
to this Website…
 �������������������������������������������������������������������������������������������������������������������������������������������������������������������������������������������������������������������������������������������������������������������������������������������������������������������������������������������������������������������������������������������������������
Cisco Clean Access
Authentication
https://10.1.3.2/auth/perfigo_weblogin.jsp?cm=ws32vklm&uri=http%3A%2F%2Fwww.google.com%2F
Screen clipping taken:
2/23/2007, 8:52 AM
Step 3:
Use
your email “USERNAME” and “PASSWORD” to
logon.
 ����������������������������������������������������������������������������������������������������������������������������������������������������������������������������������������������������������������������������������������������������������������������������������������������������������������������������������������������������������������������������������������������������������
Step 4:
Download
the Clean Access Agent BY clicking on the link provided on the screen.
Cisco Clean Access
Authentication
https://10.1.3.2/auth/perfigo_weblogin.jsp?cm=ws32vklm&uri=http%3A%2F%2Fwww.google.com%2F
Screen clipping taken:
2/23/2007, 8:59 AM
 �����������������������������������������������������������������������������������������������������������������������������������������������������������������������������������������������������������������������������������������������������������������������������������������������������������������������������������������������������������������������������������������������������������
Cisco Clean Access Agent
Download
https://10.1.3.2/auth/perfigo_validate.jsp
Screen clipping taken:
2/23/2007, 9:01 AM
Step 5:
Click
“SAVE” and store on your desktop or in a folder of your choice.
 ���������������������������������������������������������������������������������������������������������������������������������������������������������������������������������������������������������������������������������������������������������������������������������������������������������������������������������������������������������������������������������������������������������
Screen clipping taken:
2/23/2007, 9:02 AM
Step 6:
Click
“RUN” to install Clean Access.
 ����������������������������������������������������������������������������������������������������������������������������������������������������������������������������������������������������������������������������������������������������������������������������������������������������������������������������������������������������������������������������������������������������
Screen clipping taken: 2/23/2007,
9:03 AM
Step
7:
Click “RUN” to Continue.
 ������������������������������������������������������������������������������������������������������������������������������������������������������������������������������������������������������������������������������������������������������������������������������������������������������������������������������������������������������������������������������������������������������
Screen clipping taken:
2/23/2007, 9:05 AM
Step 8:
Click “Next” to Continue.
 ������������������������������������������������������������������������������������������������������������������������������������������������������������������������������������������������������������������������������������������������������������������������������������������������������������������������������������������������������������������������������������������������������
Screen clipping taken:
2/23/2007, 9:07 AM
Step
9:
Click
“NEXT” to Continue.
����������������������������������������������������������������������������������������������������������������������������������������������������������������������������������������������������������������������������������������������������������������������������������������������������������������������������������������������������������������������������������������������������������
Screen clipping taken:
2/23/2007, 9:08 AM
Step
10:
Click
“Install”.
 ������������������������������������������������������������������������������������������������������������������������������������������������������������������������������������������������������������������������������������������������������������������������������������������������������������������������������������������������������������������������������������������������������������
Screen clipping taken:
2/23/2007, 9:10 AM
Step
11:
Click
“FINISH”
 ������������������������������������������������������������������������������������������������������������������������������������������������������������������������������������������������������������������������������������������������������������������������������������������������������������������������������������������������������������������������������������������������������������
Screen clipping taken:
2/23/2007, 9:11 AM
Step
12:
Logon on to clean
access using your Email “USERNAME” and “PASSWORD”.
 �����������������������������������������������������������������������������������������������������������������������������������������������������������������������������������������������������������������������������������������������������������������������������������������������������������������������������������������������������������������������������������������������������������
Screen clipping taken:
2/23/2007, 9:13 AM
Step
13:
Click
“YES” to continue.
 ��������������������������������������������������������������������������������������������������������������������������������������������������������������������������������������������������������������������������������������������������������������������������������������������������������������������������������������������������������������������������������������������������������
Screen clipping taken:
2/23/2007, 9:13 AM
Step
14:
If your computer has met all requirements, you will receive a “Logon Successful” screen.
If you
have issues with your computer, Click Here for
Instructions.
Screen clipping taken:
2/23/2007, 9:15 AM
If you want to change your Antivirus settings click HERE.
If
questions or problems please call the Helpdesk at 5571.